

STANDARD OPERATING PROCEEDURES

trailblazer Setup
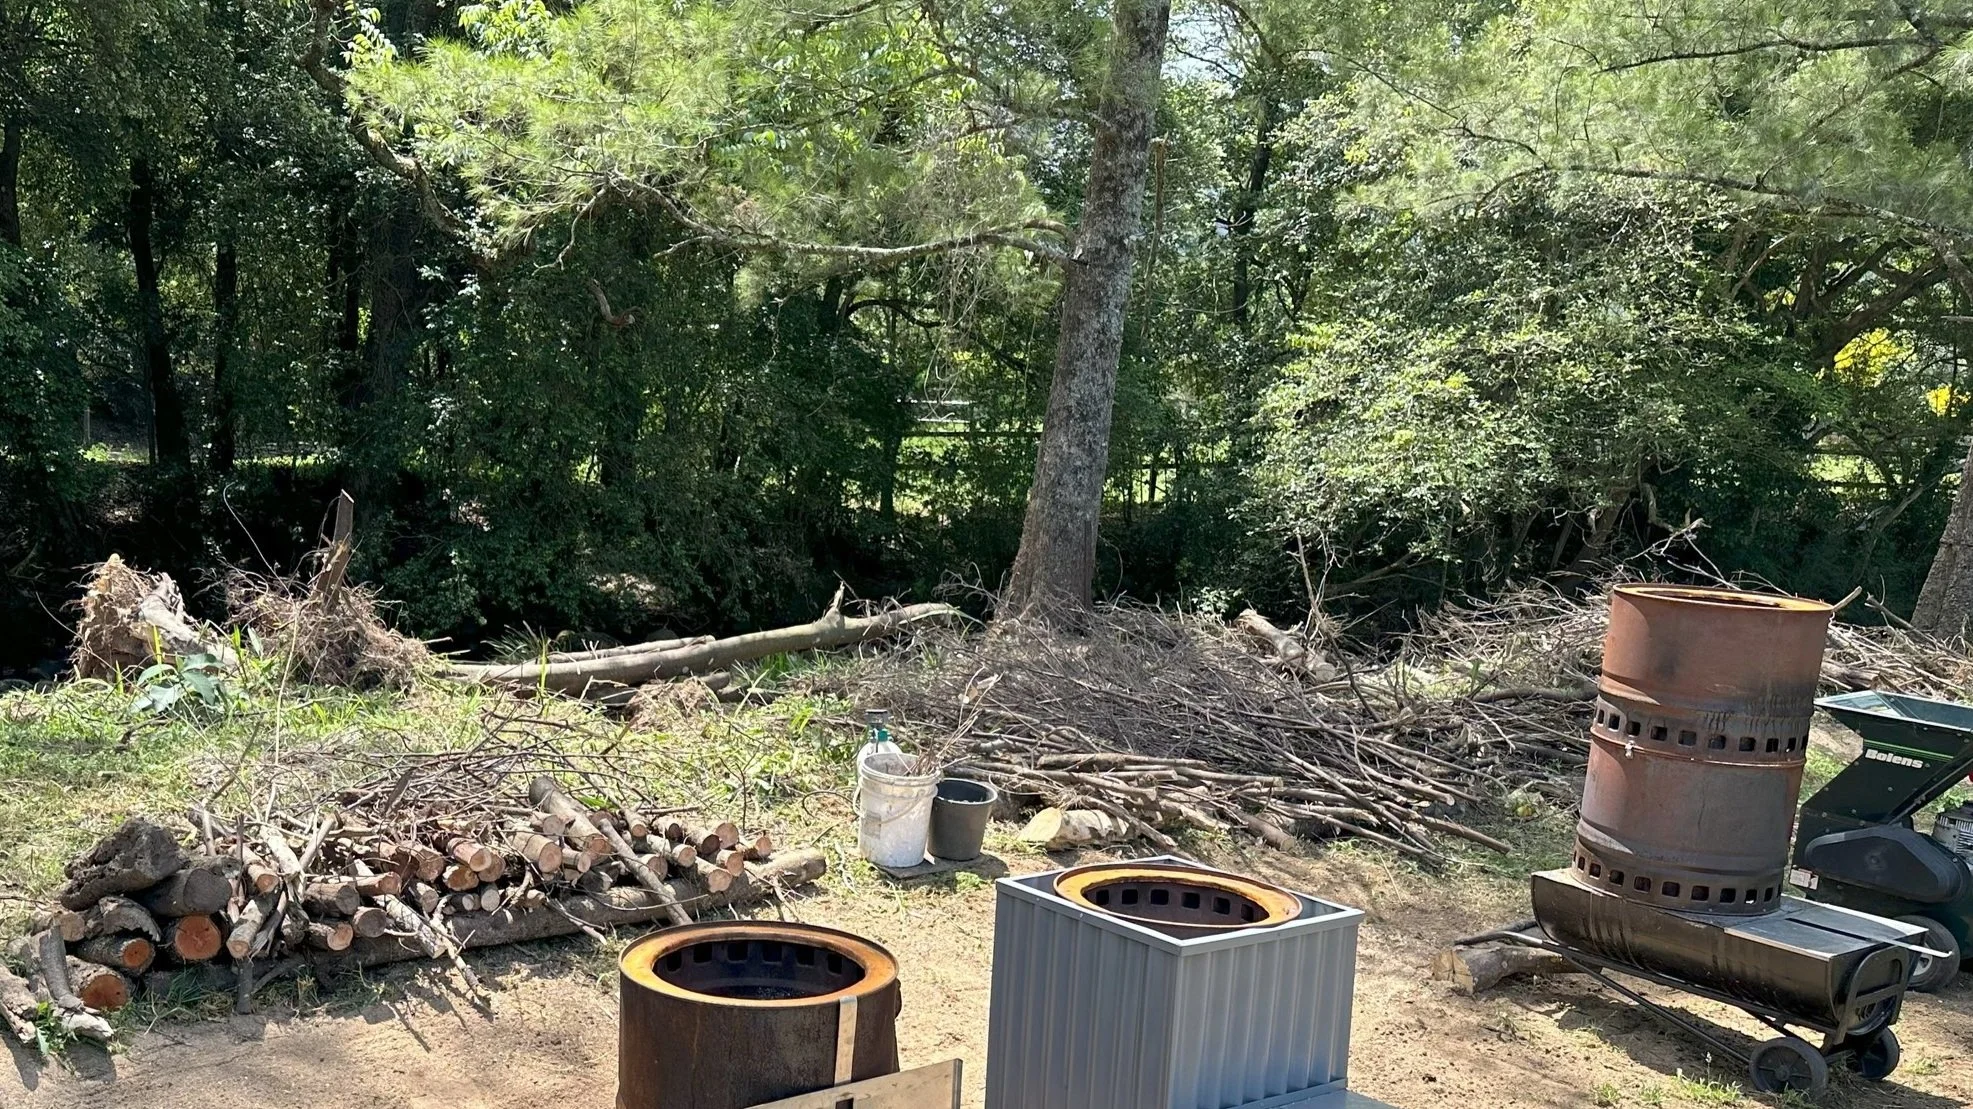
Setup the Trailblazer on level ground in a cleared outdoor space, at least 2.5m away from flammable material.
Ensure you comply with local council regulations using firepit. With the purchase of a swivel grill it can be classified as a bbq for cooking purposes).
Fill the reservoir with water and ensure the drainage pipe is closed.
Check with the local fire authority that there are no current fire bans in place.


Fuel Preperation
Organize and stack the woody material into kindling, larger branches, and logs. Ensuring that they are at lengths that do not extend out of the unit.
Start by putting a layer of cardboard as to cover over the holes in the bottom grate of the unit (this helps to easily start the fire and prevent losing hot embers while the unit is starting).
Add a layer of kindling on the cardboard. Load larger timber in to the top airflow holes in the trailblazer. Fill remaining space with paper, kindling and smaller woody material and ensure this is evenly arrayed. (not all kindling on one side larger logs on the other to help the fire spread evenly.)
Place more kindling on top of of the unit.

IGNITION AND PREHEATING
Lift the air intake hatch to it’s upright position to allow maximum air intake under the grate.
Light the kindling sitting on top of the trailblazer. Top lighting is the best way to achieve a smokeless fire.
Keep adding more kindling until the embers start to fall down and the fire starts growing.


Optimal running paramaters
The Trailblazer Firepits needs to reaches its optimal temperature range of 500 - 750c to create the best biochar and go smokeless. This usually takes about 5 - 10 minutes. *Depending on timber type, its moisture content and the thickness & stacking of woody materials during the ignition phase.
The Trailblazer is within it’s optimal temperature range when:
5 - 10 mins have passed.
The larger timber is well alight and is generating heat.
There is notable secondary combustion occuring at the holes in the inside near top.
The flames are burning in a strong stable vertical direction
The unit is cleanly burning and observe a reduction in smoke.
You can hear the biochar falling into the water bath.
* Optionally use an infrared thermometer and measure the temperatureof the fire.
You can now continue to add larger woody material to the unit. Ad timber by placing in vertically and evenly. Avoid laying wood parallel by cross stacking.
Making adjustments
During the burn you may need to make adjustments to ensure the continuation of optimal running parameters.
If you are adding green or wet timbers you may need to open the air intake door to maintain heat and avoid generating excessive smoke.
When the unit becomes too hot stop adding fuel and close the air intake.
If your units fall below temperature open the door add more kindling and smaller drier timbers.
Occasionally the grate may become clogged with char. this will affect the efficiency by blocking airflow through the grate.To use a rod or long timber to clear the base by breaking up larger coals and moving the charcoal across the grate.
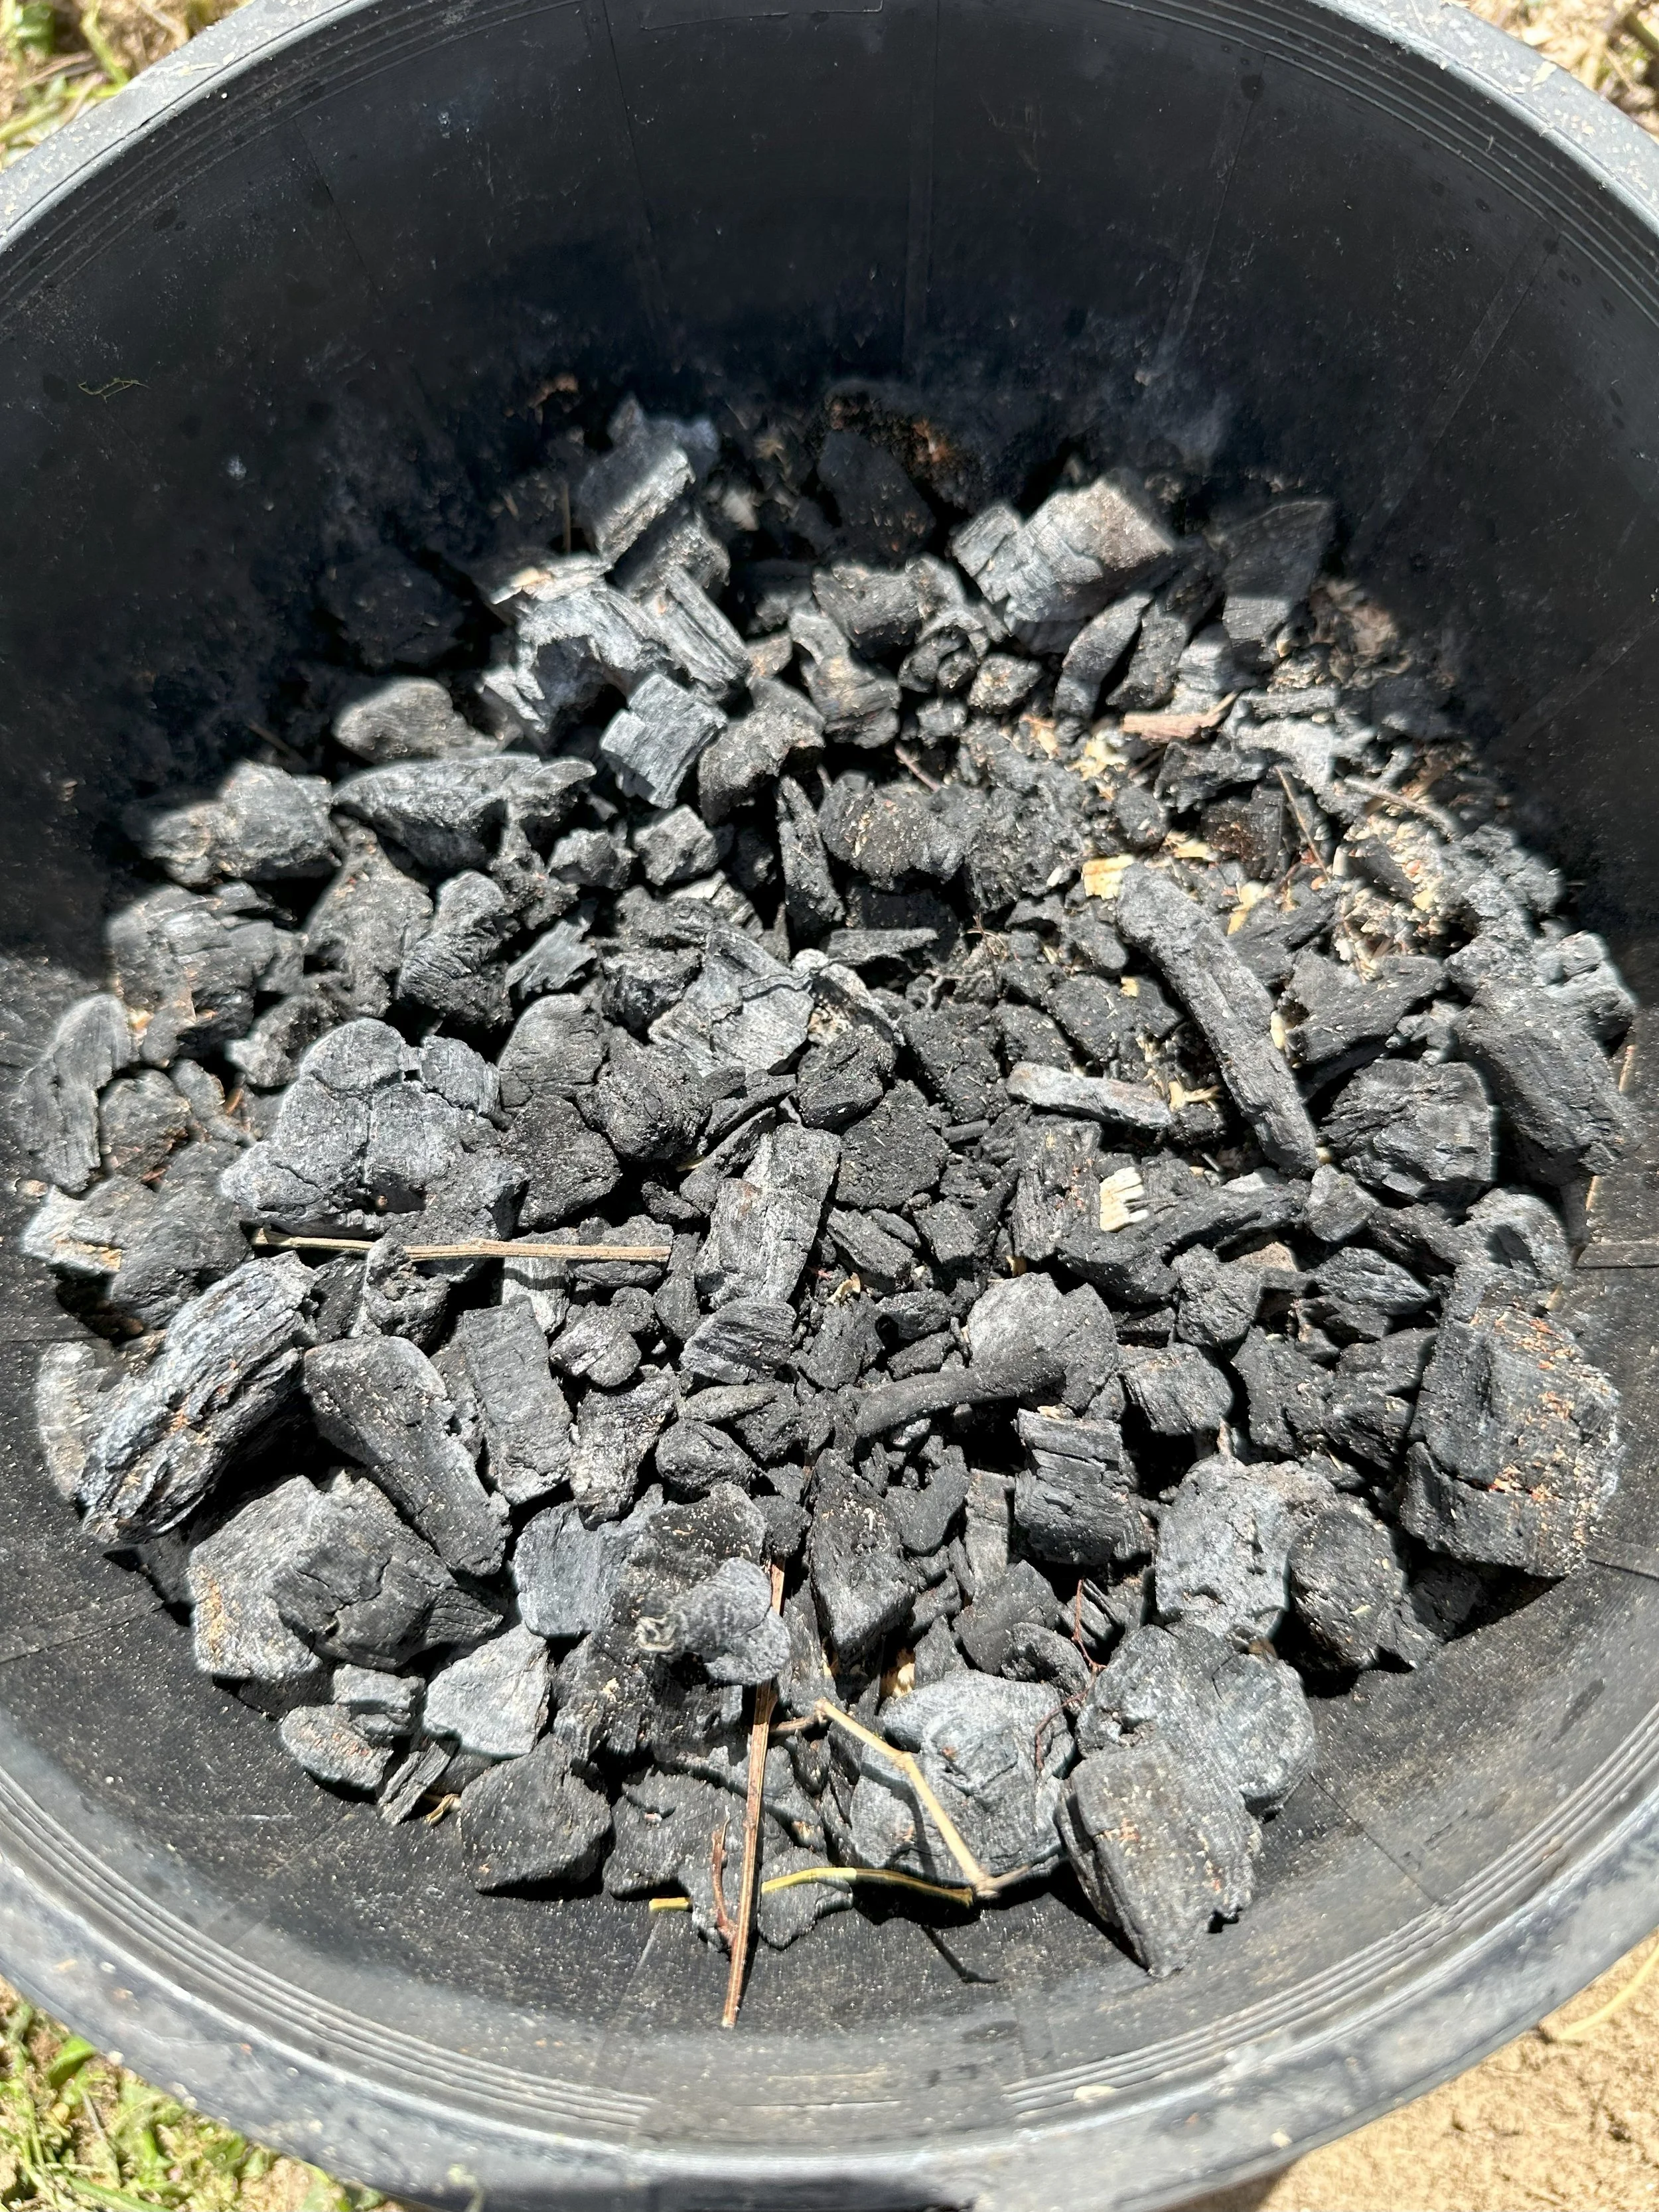
When the collection vessel becomes full of char under the grate you can make more space by pulling the char forward. you can also make more space by removing the biochar using a fork or shovel during the process and placing in a bucket or pot with holes in it.

eNDING A Session
Once you have decided to end a burn session use a rod to knock down any last pieces of coals.
Use water to completely to extinguish the fire.
Remove the biochar from the base of the unit and store in large pot plants that have holes to allow ithe water to drain.
The water can be drained from the base by removing the bung or by tipping the entire unit over towards the front.
If you are not planning to use the Trailblazer for a long period of time store under cover or upside down to prevent filling with rain and thus extending the units life cycle.